This tutorial looks at replacing the CSS background technique used to display a logo/image in the Genesis framework header with an actual HTML markup inline image tag, which is better for responsive design across all devices. This can be achieved in a couple of ways, one with a filter and one with an action. But first some general info…
Genesis Sample Theme
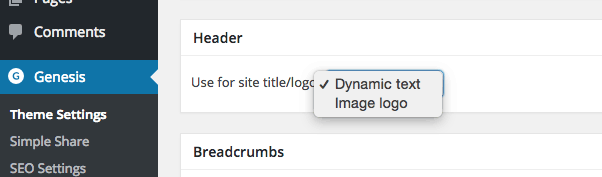
The header image/logo placement and technique used in the Genesis Sample Theme depends on whether you have ‘Dynamic Text‘ or Image ‘Logo‘ selected in Genesis Settings > Header.
If ‘Dynamic text‘ is selected the ‘Site Title‘ and ‘Tagline‘ are used as set in the WordPress > Settings fields. If ‘Image Logo‘ is selected an image is referenced in the images directory of your theme named logo.png and there is a default one in place at 360x164px. This has been removed in the latest Genesis Sample theme from 2.2.3 onwards.
360px * 154px default
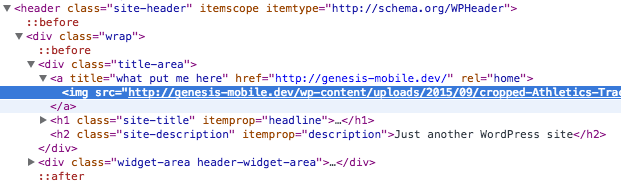
The image is place as a CSS background rather than a HTML marked up image tag.
In the code you can see that the image is a CSS background of the link inside the H1 of the .title-area
This works for the most part but has responsive issues and is not really appropriate for a sites main corporate branding either semantically or for SEO. The responsive issues can be dealt with by using the background-size CSS rule. However I feel that that an image HTML mark up should really be used in this area.
The CSS is different fromGenesis Sample theme from 2.2.3 onwards whereby there is no background pointing to a default logo in images.
Genesis Custom Headers
Outside of the Genesis Sample Theme most of the StudioPress themes add support for Custom Headers something similar to the below (taken from News Pro) which you’ll find in the theme’s functions.php.
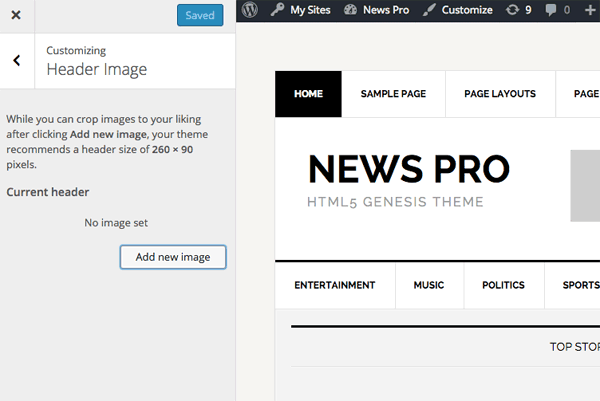
With Custom Headers enabled you add the image/logo via Appearance > Header and you are put into the Customizer which makes it easier for a non technical user to change the main image.
In terms of the image size which is defined inside the array of values of the Custom Header just change them to what you need but also adjust the surrounding elements in the CSS mark up to make sure they all play nicely.
The Custom Header support is not specific to Genesis it is a WordPress feature that can be used in any themes. One of the Genesis specific adjustments is the use of header-selector which is used to target the HTML element which will have the CSS background image applied to it.
This is coded in at genesis/header.php in the genesis_custom_header and genesis_custom_header_style functions, the genesis_custom_header_style is really controlling the output here and can be removed.
Alternative ways…
Using an action, genesis_site_title
Using an Image instead of a CSS background – borrowing from _s
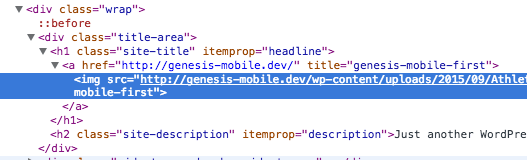
So instead of using a CSS background lets use some HTML markup which contains the image element. We can pinch the mark up from Underscores.
In _s/inc/custom-header.php lines 7-11
So we can add our own custom header theme support, remove the genesis_custom_header_style action and hook in our _s header mark up. To be added in functions.php
In the snippet of code we are adding in custom header support for our theme, removing the default Genesis header behaviour and hooking in our new header mark up.
The mark up is hooked in with the genesis_site_title hook with a high priority (5) to make sure it executes early and sits above the title.
Change the size to suit your needs and now you can add the image via the Customizer or Appearance > Header.
What’s good about this is that…
It is an image and more controllable
The image can be easily changed via the customiser
If no image is selected then the Site title and description are displayed, if you want both the logo and site title and site description to show change the value of header-text in the custom header support to be true.
CSS Clean Up
Also we will need to remove some CSS associated the background CSS for .header-image .site-title > a, remove or comment out
Genesis come with a filter that you can change the content without changing the markup layout, the filter in question is genesis_seo_title, which you can see in genesis/header.php from line 932
So in the above I am still using the Underscores header code and outputting the logo if the header is set, if it is not set I am outputting the Site Name. The remainder of the code is an improved output from Tony Eppright published here.
What I wanted to differently (from Tonys method) was to have the image handled by the Appearance > Header option. Also I add the .screen-reader class to the site-description if the image is set in Customizer so its output on the page is invisible – but visible to screen readers. However the Site Description will display normally if the image is not set in Customizer.
Now the image is positioned in the layout without adding to and altering the default layout. Making the filter option a better one.
CSS Clean Up
Also we will need to remove some CSS associated with hiding the title
You should also be moving towards svg format for things such as logos as browser support is widespread, the great thing about SVG is it is a resolution independent format and will look great on any screen and you just need the one version. Fallbacks are also still achievable.
6th March 2016 Update – As an addition to this, there was a small issue whereby if the header was set in Customizer, the .site-description markup was being output – I have tweaked @alphablossom code to hide it if the header is picked in Customiser, if it isn’t picked in Customizer the description will display.