This guide deals with how to make a bootable USB disk of macOS Sierra, see this guide for older operating systems OSX 10.11 El Capitan, 10.10 Yosemite or 10.9 Mavericks. This is possible via the Terminal App from a command Apple introduced since OSX Lion, called createinstallmedia, all you need is the original macOS Sierra app installer and a spare external drive to make a copy of the new OS installer on which you will be able to boot from.
This guide is initially for the Public Beta of macOS Sierra which is available here.
Getting the macOS Sierra Installer App

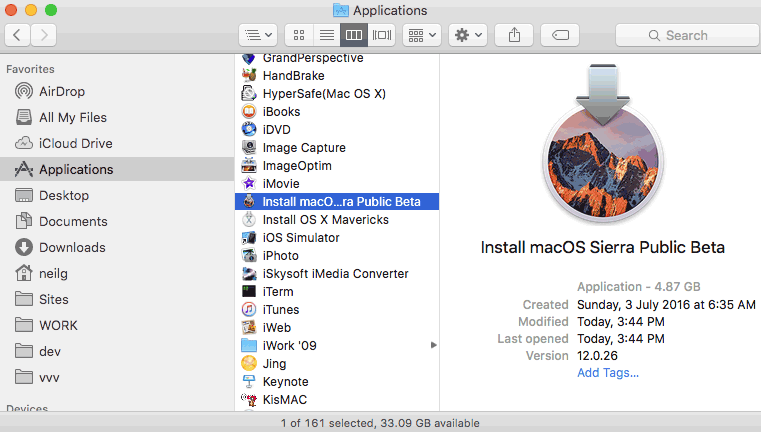
Sign up for the Public Beta, click the redeem button and download via the App store, once you download it should be in your top level Applications folder.
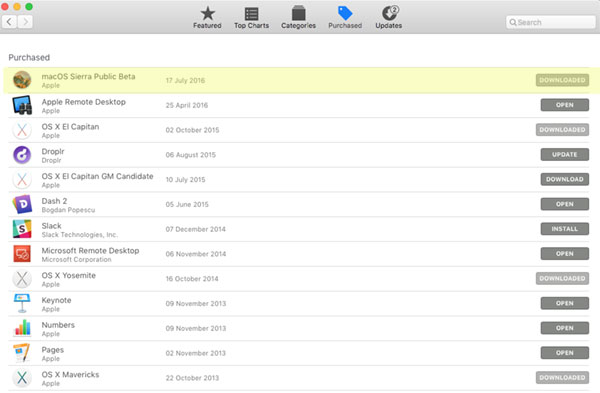
If it’s not there check in your purchased tab of the App Store app and you can click Download.

If in the instance it already says ‘Downloaded’ and it’s not in your /Applications folder, first of all try a search on your machine for it, if still no go, launch LaunchPad in Applications and find the installer, in this instance ‘Install macOS Sierra Public Beta’ and move to the Trash – now you should be able to download from the App Store app.
Attach your USB external stick/drive.
Launch the Terminal from /Applications/Utilities and enter the command below and then your password when prompted, be sure to change the ‘MyVolume‘ name in the below command to your external disk name.
macOS Sierra ~ Terminal Command
sudo /Applications/Install\ macOS\ Sierra\ Public\ Beta.app/Contents/Resources/createinstallmedia --volume /Volumes/MyVolumeName/ --applicationpath /Applications/Install\ macOS\ Sierra\ Public\ Beta.app/

Let it do its thing and it will say done when complete, there you have it one bootable macOS Sierra drive.