This tutorial is a guide to install PostgreSQL database application OS X 10.9 Mavericks and the client app pgAdmin and browser tool phpPgAdmin to interact with the databases.
Installing PostgreSQL
To get PostgreSQL running on a OSX Mavericks client machine download the latest point and click binary of PostreSQL from PostgreSQL headquarters
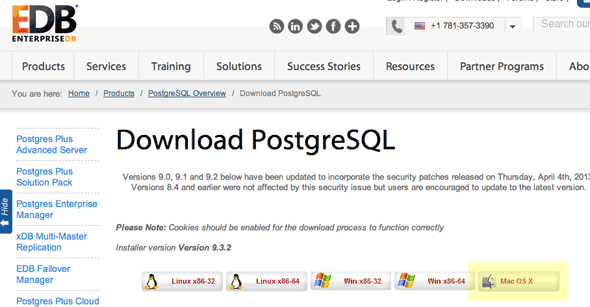
Download, uncompress and run the installer:
– postgresql-9.3.2-1-osx.app
(Control click > Open the app to get around Mountain Lion’s Gatekeeper).
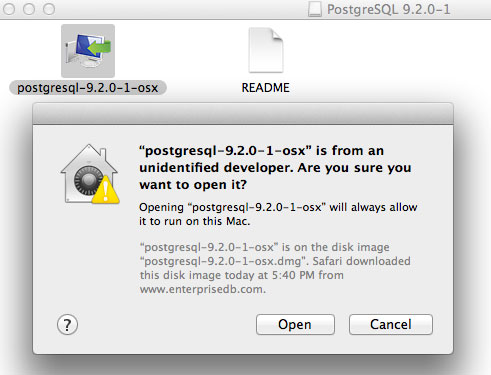
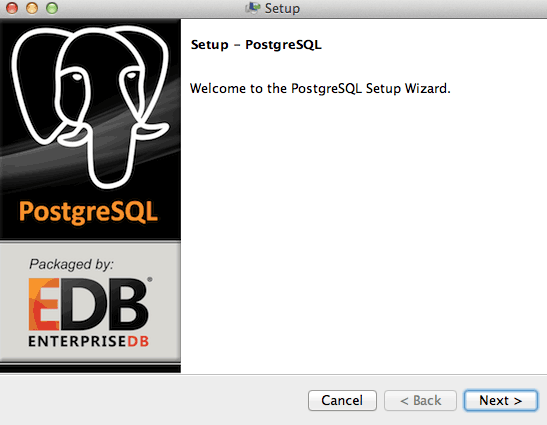 – Run the installer app.
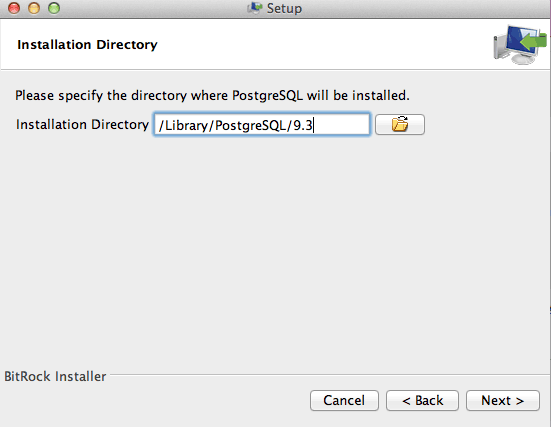 – Set the install and data directory, the defaults are just fine
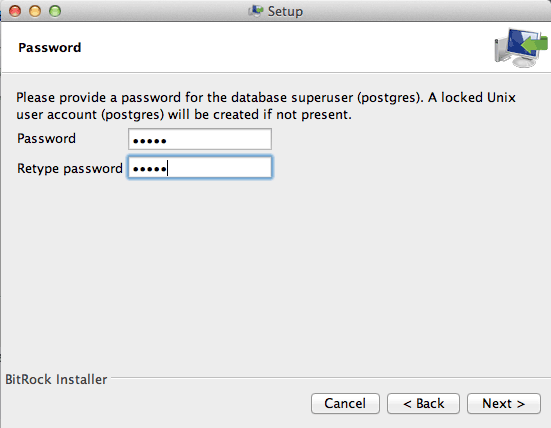 – Set the postgres password – which is separate from any account of the operating system
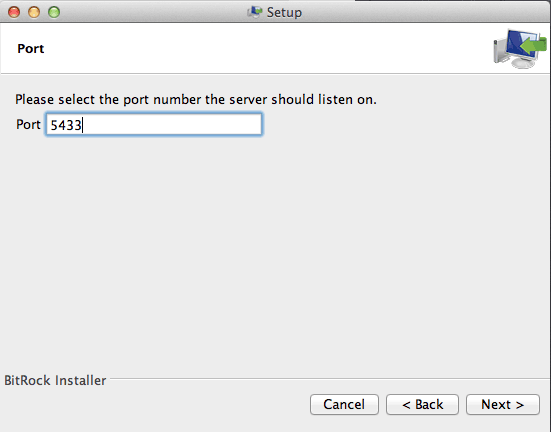
– Set the port number – leave it at what it defaults at – yours will be 5432 if its the only Postgres install – leave it at 5432.
– Leave the locale on default
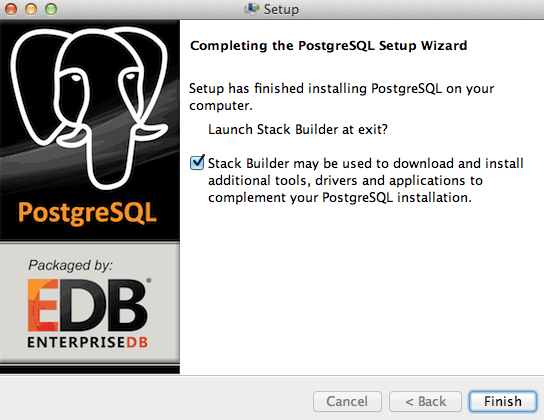 – Once the installer has finished, you have the option on using the stack builder to install additional components, if you want to add extra components leave it checked – this really depends on your existing configuration.
If you want to install other components leave it checked, the installer will disappear and the stack builder will launch requiring your regular admin password.
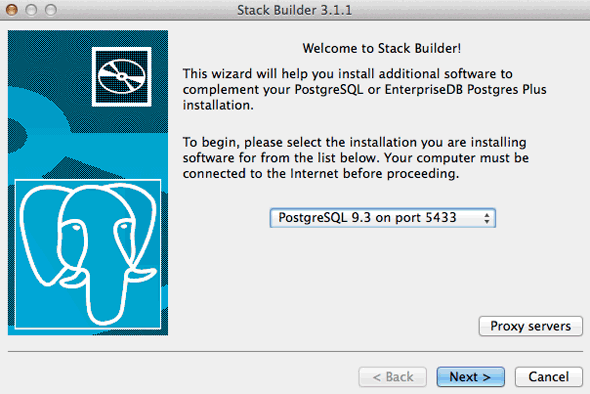
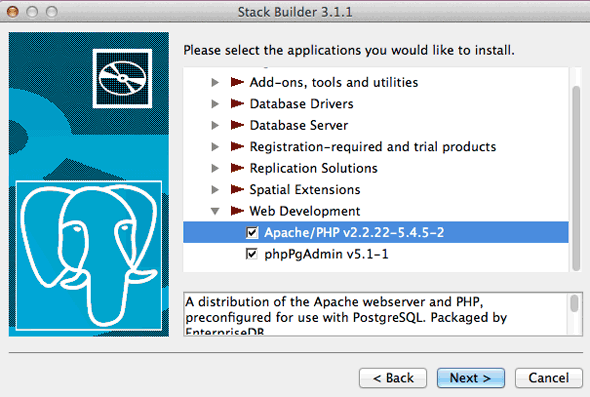
If you want to add any extras at this stage just select your install from the dropdown.
Then select the category and checkbox want you want to download. You can always come back to this later via: /Applications/PostgreSQL 9.3/Application Stack Builder.app
This is an optional step and the installer has a variety of installs including Apache/PHP stack, db drivers, CMS’es and db optimising tools.
Configuring pgAdmin
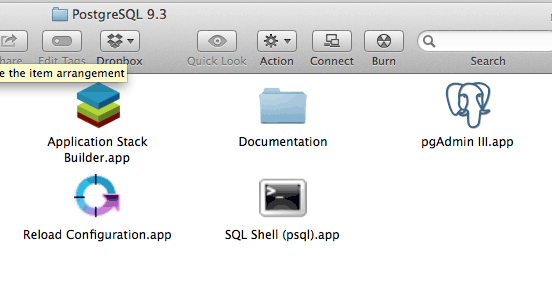
Thats PostgreSQL installed – to interact with the database in /Applications/PostgreSQL 9.3 there is a GUI app called pgAdmin, launch that and you will see your initial connection.
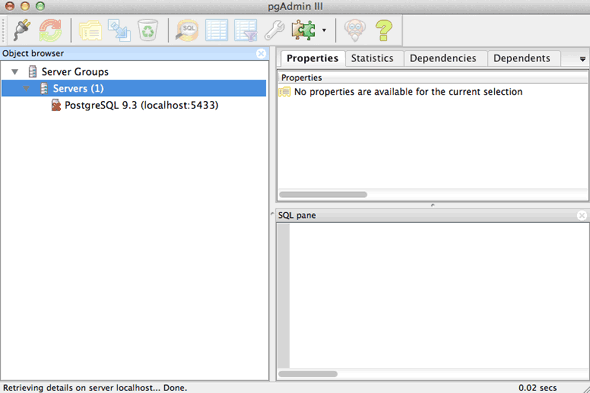
– But it has a cross through it and is not connected, double-click it to enter the root database password that you entered earlier.
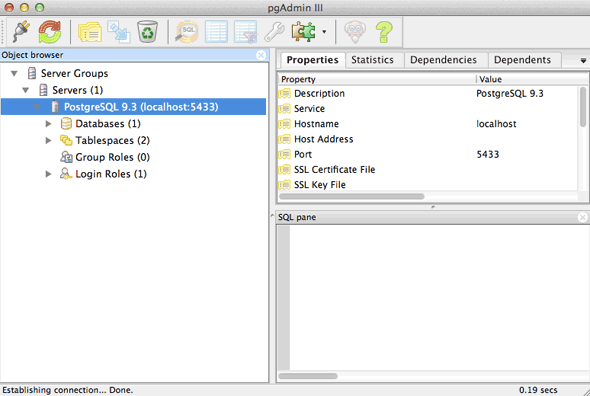
Successful connection
Installing and configuring phpPGadmin
To interact with PostgreSQL via a browser you need to install phpPGadmin, this can be done in two ways depending on how you have installed Apache/PHP, you can do it via the /Applications/PostgreSQL 9.2/Application Stack Builder under the Web Development category, but if you already have Apache and php running in your development environment and want to leave it running the way it is best off to download the phpPGAdmin source and use that.
– Download phpPGadmin, uncompress rename the directory to phppgadmin and file it in your web root
– edit the configuration file to make 2 changes:
/phppgadmin/conf/config.inc.php
The first key line (line 18) to change at this stage is to add in your local server ‘localhost’:
$conf['servers'][0]['host'] = 'localhost';
The second change (line 93) is to allow access by the ‘postgres’ user which you set a password for in the initial PostgreSQL install, by changing the value to ‘false’:
$conf['extra_login_security'] = false;
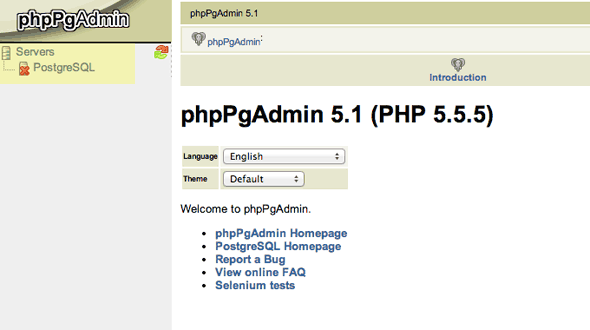 – Log in by going to your web root – http://localhost/phppgadmin/ click on the crossed out server
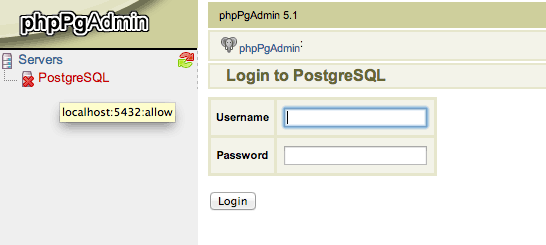 – Enter in the superuser ‘postgres‘ and the password that was set in the initial PostgreSQL install.

– Interact with PostgreSQL via the browser
That’s it PostgreSQL database installed with 2 client applications to interact with with it; phppgAdmin and pgAdmin.