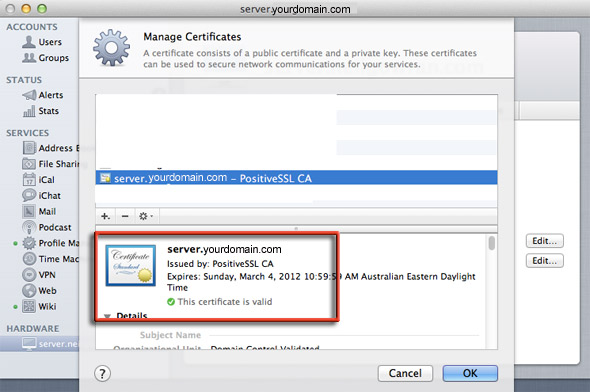
OS X Lion Server provides a number of services which can all be SSL enabled – this guide gets you up to speed on how to create, install and configure an SSL certificate in the Server.app interface for a secure encrypted connection.
Pre-requisites – OS X 10.7 Lion -Server.app – properly formatted fully qualified domain name on machine such as:
server.yourdomain.com
Create a New Certificate
— launch Server App
click hardware – SSL > Edit…
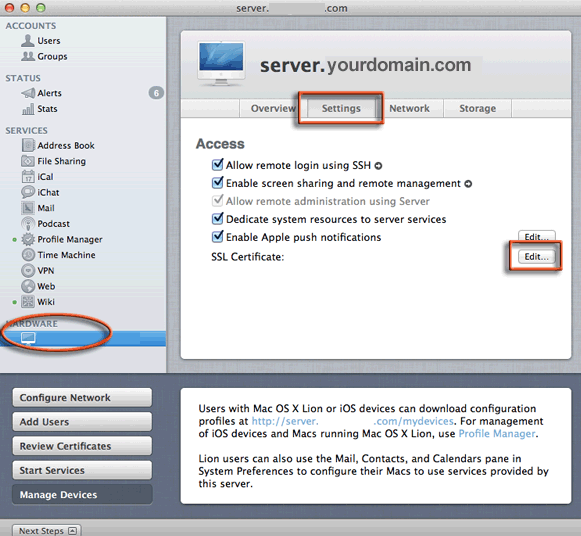
— use the gear to ‘Manage Certificates’ delete the one that server set up created as you will need to be more descriptive in your address and hostname and service requirements, create a new certificate…
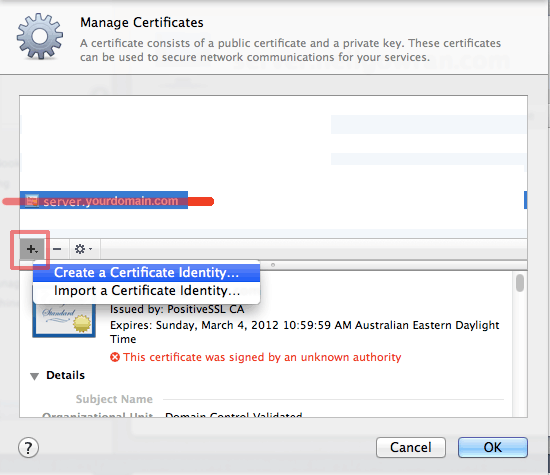 .
.
— name the certificate with the server hostname and click on the override defaults
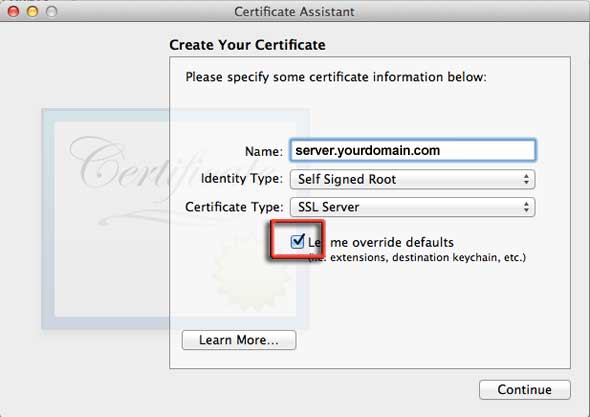
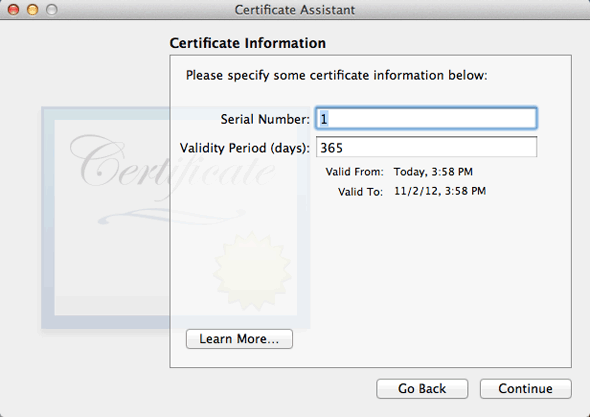
— start the certificate form creation process – leave the defaults as is if unsure is they are OK, but change the details in the following screen shots
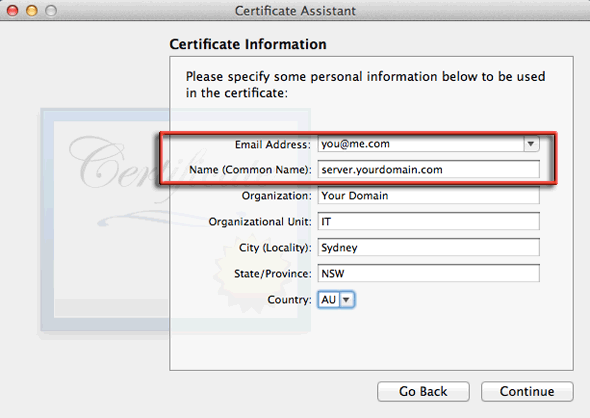
Use your FQDN server name and an email address that you will receive the cert verification from a certificate authority/registrar
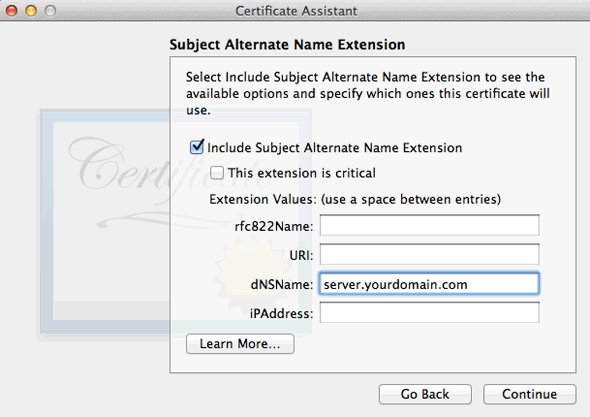
At this point if you were using multiple services for SSL and getting a UCC cert you would enter them in here space separated:
yourdomain.com mail.yourdomain.com autodiscover.yourdomain.com server.yourdomain.com
Or if you just want a single service – just enter a single name:
server.yourdomain.com
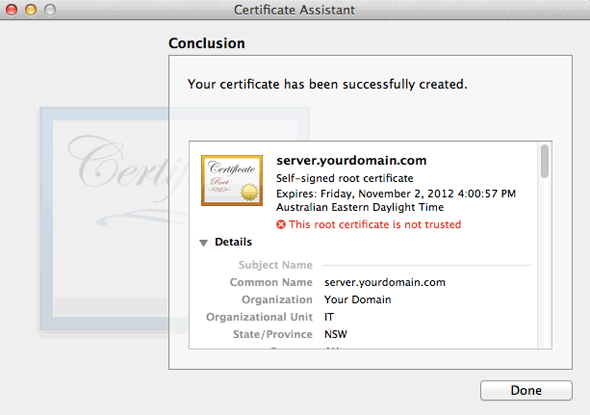
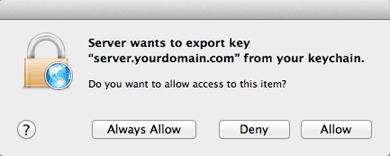
Thats the certificate made and can be used as is but not trusted it is known as self signed, – for it to be trusted you need your certificate to be signed and verified by a Certificate Authority – CA which you can get from ISPs/Registrars etc
Generate a Certificate Signing Request – CSR
— To get your cert trusted the first thing you need is a certificate signing request or CSR – back to Server.app > Manage Certs
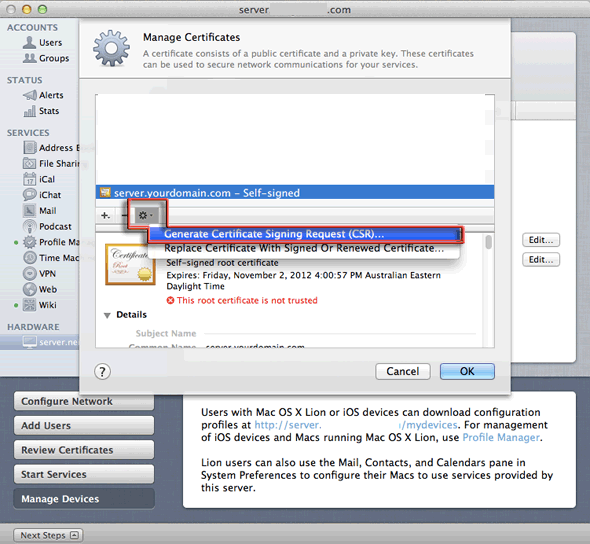
Generate the CSR
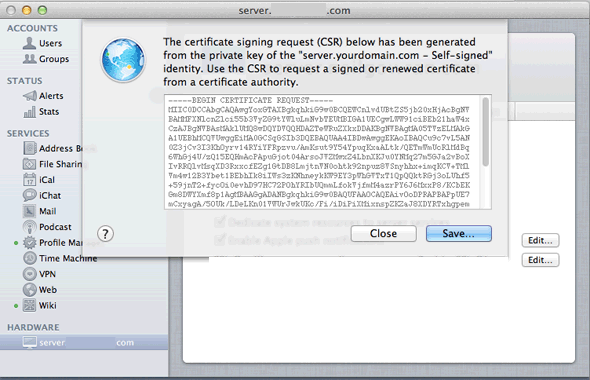
You can copy and paste this in a text file or just generate again at a later stage.
Buy the SSL Certificate Service
OK now you need to buy an SSL trusted cert – NameCheap and GoDaddy have good deals – NameCheap has a single domain name for less than $10 whilst GoDaddy offers the UCC 5 domain name Cert for $90.
Once you go through the application process at the registrar at some point you will need to paste in the CSR as above – then you wait for a verification email from the Cert company and lastly in the loop you receive your – server.youdomain.com.crt and other intermediate.crt certs file which is the trusted Cert from the CA – you need to put this back in the Server.app replacing your self signed one.
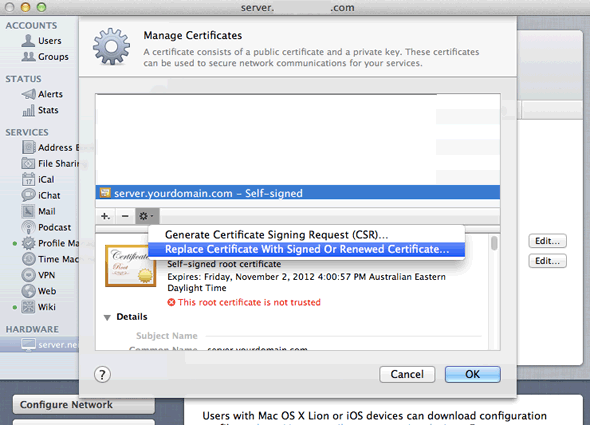
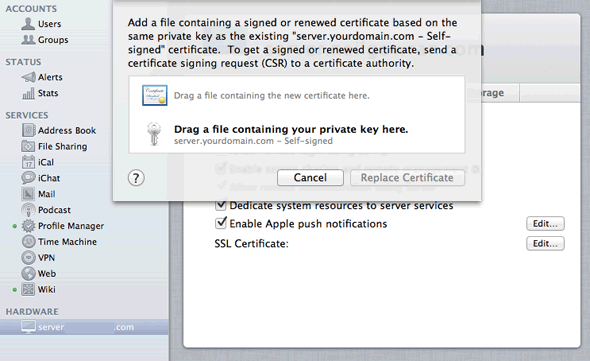
Just drag and drop the server.youdomain.com.crt to the spot
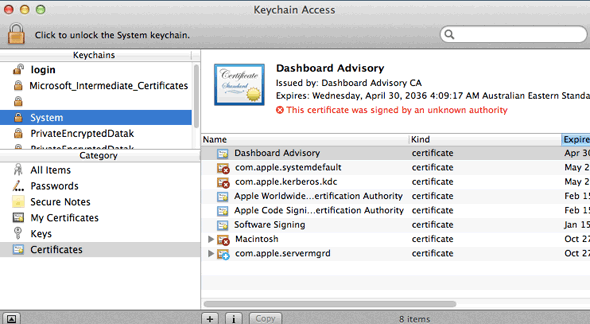
Finally you should have also received some intermediate and root crt files also from the CA – these need to be dragged into the system keychain on the server.
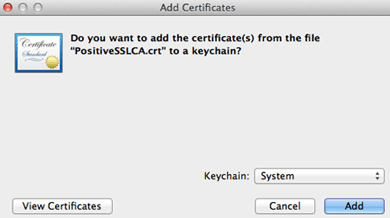
Finally set your CA Certificate as the certificate for the server from the dropdown. This can be done for every service or custom for each so if you have multiple certs assign the correct one to the services ical, ichat, mail and web.
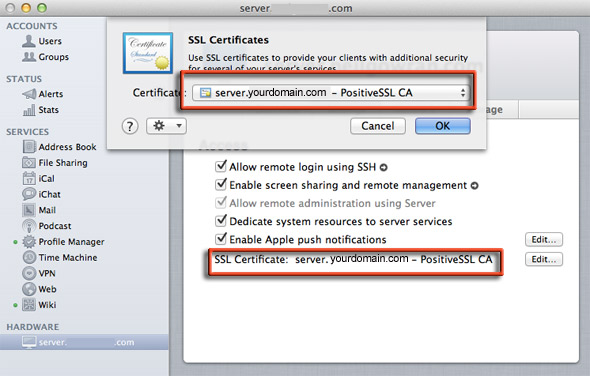
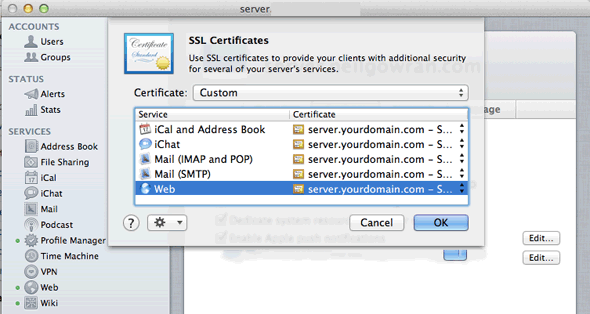
You can confirm the certificates validity by examining it in Manage Certificates and seeing the line of trust, now your users can seemlessly connect and exchange with added security.
