With the release of WordPress 3.9 comes the in-built functionality to use Audio Playlists which is pretty cool. These Audio files have to be local to the WordPress installation unfortunately you can’t file remote at this stage such as in Amazon S3.
You upload MP3s via the Add Media option in the WordPress Media Library
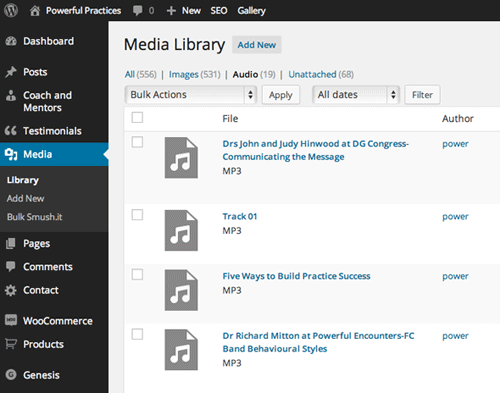
WordPress Media Library
Some files maybe on the large size, so you may need to increase the allowable upload file size limit as enforced by your hosting provider or if you run your own box you change the settings in upload_max_filesize and post_max_size.
Once the audio is uploaded just go to the post or page you want the playlist on, click on the Add Media in the visual editor tool bar and select “Create Audio Playlist”
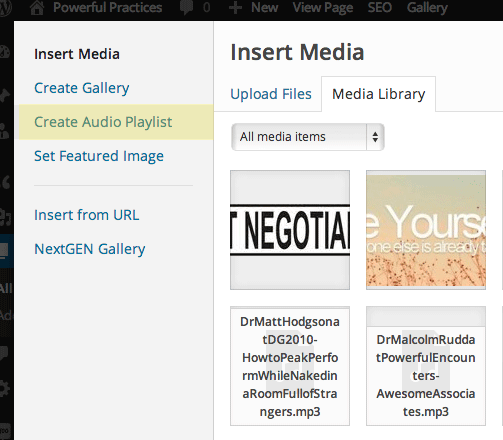
Create Audio Playlist
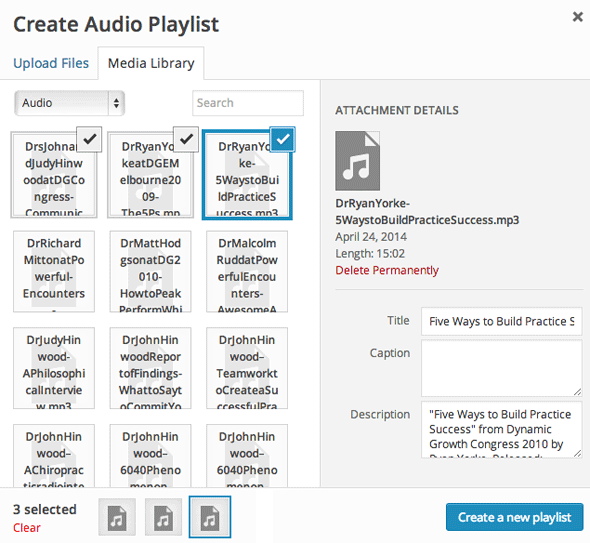
Add in Titles and Captions
Then select the Audio files you want and add in Title, Caption and Description and click Create a new Playlist
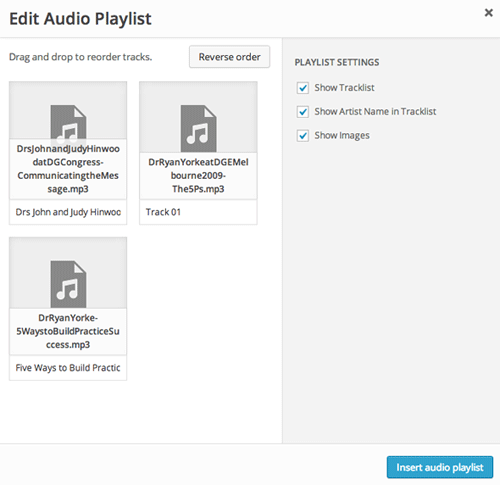
Reorder the play list or toggle certain data and then insert onto the page.
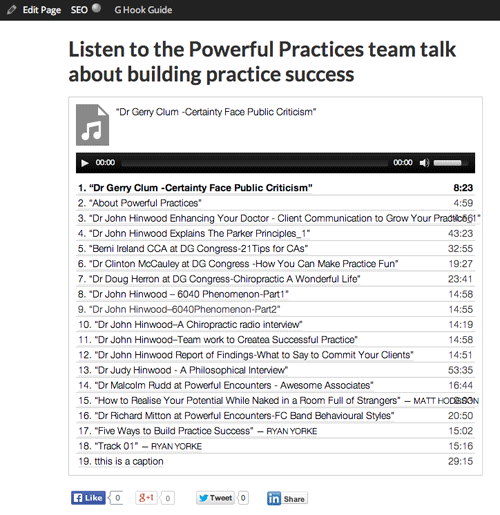
One playlist delivered and functions well with the inbuilt mediaelement audio player which will play the audio with the native HTML5 Audio element on capable browsers and fall back to flash on non-HTML 5 browsers, so it’s totally cross platform.
You can add some CSS styling to enhance the look and also get rid of the default music image symbol – which really should be an icon font. Since the medieelement CSS styles load later you can use a parent container Class to target the elements.
/* Audio Playlist */

.entry-content .wp-audio-playlist {
	background: #000000;
	color: #fff;
}

.entry-content .wp-playlist-item .wp-playlist-caption, .entry-content  .wp-playlist-length {
	color: #009999;
	border-bottom: none;
}

.entry-content .wp-playlist-current-item img {
	display: none;
}

.entry-content .wp-playlist-current-item:before {
	content: "\f127";
	font-size: 30px;
	font-family: dashicons;
	display: inline-block;
	float: left;
	margin-right: 15px;
	color:#009999;
}

.entry-content .wp-playlist-item {
	padding: 5px 3px;

}
Will give us:

Sprinkle some CSS