This is a tutorial on how to set up and install Piwik – an alternative to Google Analytics – with Piwik the data you have is stored on your server and not accessible by any other party.
Piwik is an open source easy to use web analytical tool which provides stats in real time and all the other bells and whistles of analytical reporting. The three key CMS players WordPress, Drupal and Joomla have plugins/modules that get your site up and running in no time.
It’s easy to use, you control and manage the master site and tag your target sites with JavaScript code similar to Google Analytics, since this site is made in WordPress and Drupal I wanted a tool the covers both CMS systems and reports on figures outside of Google to show me what is going on – this is where Piwik comes in very handy.
Creating the Piwik Site
To get the key master site for Piwik up and running, download the lastest version of Piwik here.
Extract the zip and ftp the “piwik” folder to your document root level – (if you can upload the zip and extract it from cPanel it will be a lot faster, and leave the piwik folder as below)
/public_html/piwik/
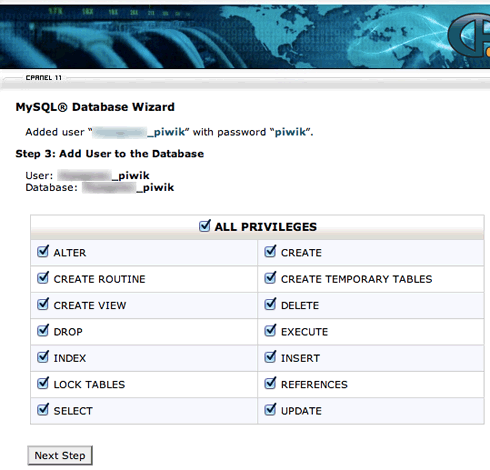
Next thing to do is create a MySQL database for Piwik, if you have a cPanel server, the quickest way is to use the database wizard.
Create the database name, database user, link the user to the database and grant all privileges.
Copy the names down of the db, dbuser and password as you’ll need them in the piwik installation process.
Installing Piwik
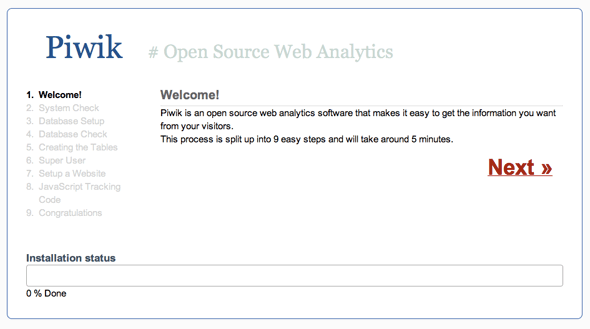
Browse to the piwik folder http://yourdomain/piwik
Follow the bouncing ball…..use the information you copied for the database settings, also a few additional fields need attention here:
– database server – it’s either going to be localhost or 127.0.0.1
– table-prefix – set to what you like
– adapter – PDO_MYSQL works for me
Follow the onscreen set up, a bit further setting up an admin user and entering your first trackable site which gives you the JavaScript code to insert to the pages.
And finally you get to the login page. – Success
After login you are then faced with the “Dashboard” and as soon as your web visitors arrive you can see them in the real time widget.
To add additional websites for tracking, go to “Settings”, then the tab “Websites” and “Add a new website” and fill in the required fields.
Each website you enter gets its unique id, it’s not like a Google UA No., it simply starts from 1 and increases in 1 digit increments.
To see the actual tracking code click on the right most column.
Some websites can utilise just the ID number to extract and insert the tracking code with the help of plugins or modules otherwise paste the tracking code manually into your site and watch the numbers start to come in.
SSL Piwik Set Up
If you want to have the Piwik directory all in a secure SSL/https you need to tweak the config file, open ‘config.ini.php‘:
/public_html/piwik/config/config.ini.php
add in at the end:
[General]
force_ssl_login=1
Thats it as long as your server has SSL set up it will work – forcing the directory with htaccess to SSL will not bring across page information and keywords from your targeted sites.
WordPress
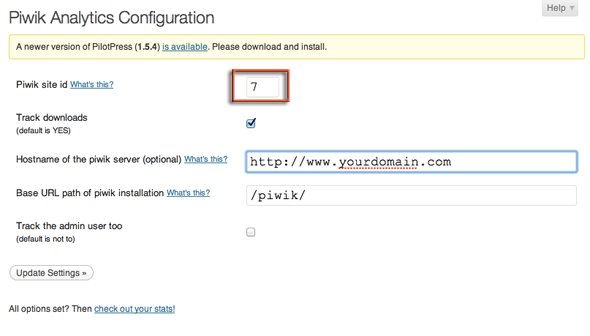
To get the code easily into WordPress use the Piwik plugin here, upload to your plugins folder, activate and enter your settings, like so;
The key thing is to get the ID Number in and master hostname of Piwik Server and the plugin does the rest.
Drupal
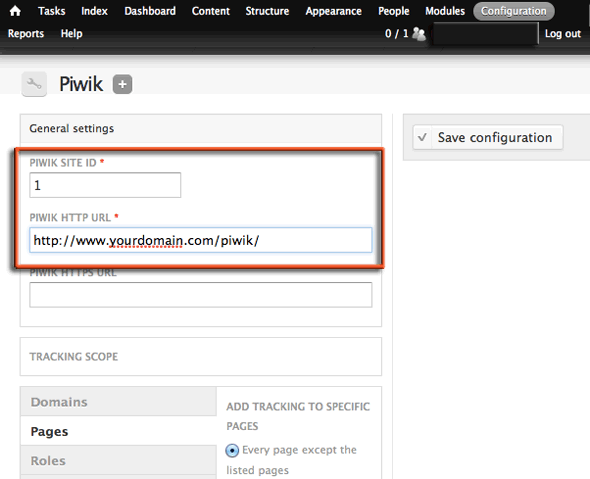
For Drupal get the Piwik module here. Configure it via “Admin > Configuration > System > Piwik”
Again the importance is on the ID and the Piwik Server URL, there’s also a whole bunch of config options at the bottom.
Joomla
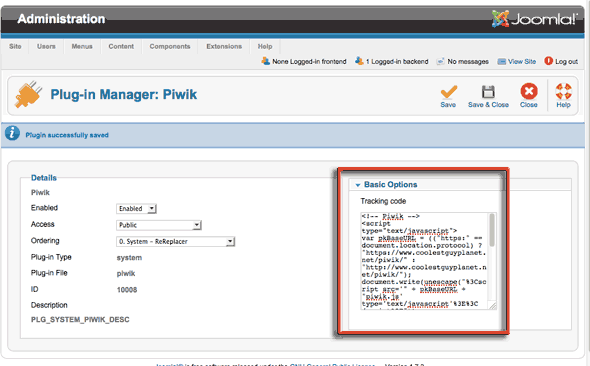
Get the 2.5 or 3.1 Joomla extension here, enable it and add in the tracking script code generated from Piwik for the site in question, I have had issues with the plugins sometimes and then just grab the tracking code and hardcode it in to the template by adding it in just before the closing body tag.
Thats it happy Piwiking!

