By default you can’t write to Windows NTFS hard disk and USB drives as they appear as read only on the Desktop’s of OS X 10.9 users workstations – which is a bit of a pain in the ass!
 You can write to these disks with a few installs and tweaks in the Terminal, which will make all NTFS drives writeable – there are also some commercial point and click apps that can get the job done if you don’t fancy wading into the Terminal.
This has been tested in OSX 10.9.2 Mavericks. OSX 10.8 guide here. OSX 10.11 here.
This guide is updated April 2014, the previous package used; fuse4x, is no longer required as osxfuse will work without it. Also the package ntfs-3g is updated and you have to sym link the mount_ntfs file to the ntfs-3g one, so if you have set up before and have updated your brew you need to remove fuse4x. This is all taken into consideration below.
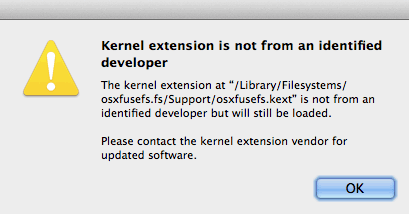
Also on completion when a ntfs disk is mounted a new error maybe displayed but the NTFS disk still mounts and is read/writable.
If you previously had this working it may well be faster to remove all brew related packages and start again.
Get Xcode and Brewed Up
To start with you are going to need Xcode and some Unix style application packages – and what makes this easy on OSX is Homebrew, a package manager for OSX, follow this guide if you haven’t already got it, it will get you up to speed on both Xcode and Homebrew first, after that come back here and tackle the rest below which involves installing a couple of apps and tweaking a couple of files.
Once you have Xcode and Homebrew the following will allow you to write to NTFS disks. Launch Terminal:
Optional – Remove Previous installs of fuse4x
brew remove fuse4x
Install ntfs-3g
brew install ntfs-3g

At this point you need to change the mount_ntfs file, the new file will allow the writes to NTFS disks, these commands will back up the original and then link to the modified mount_ntfs file as supplied by Brew/ntfs-3g
Back up the original
sudo mv /sbin/mount_ntfs /sbin/mount_ntfs.orig
Link to the new
sudo ln -s /usr/local/Cellar/ntfs-3g/2014.2.15/sbin/mount_ntfs /sbin/mount_ntfs
Install osxfuse
brew install osxfuse
Install osxfuse kernel instructions
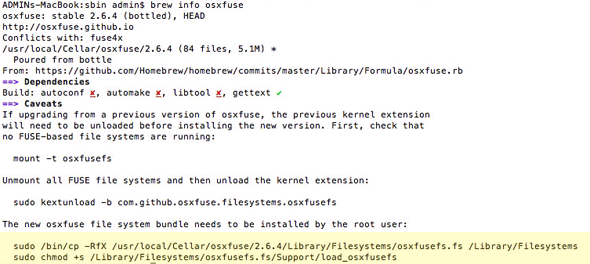
To see the commands required use the command below or simply run the 2 commands below the screen grab.
If you already have an older version of fuse4x you’ll need to also to run the other commands listed before installing this version.
brew info osxfuse

Follow the 2 commands as highlighted
sudo /bin/cp -RfX /usr/local/Cellar/osxfuse/2.6.4/Library/Filesystems/osxfusefs.fs /Library/Filesystems
sudo chmod +s /Library/Filesystems/osxfusefs.fs/Support/load_osxfusefs
Re-Attach/Mount Your NTFS Drive

You will get this warning but the disk will still load

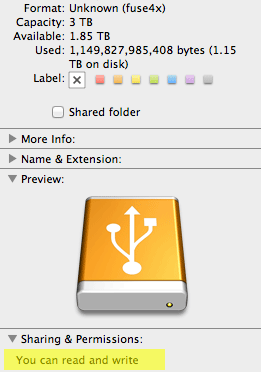
Thats it, now all mounted NTFS drives can be written to, if it doesn’t work just disconnect/connect the NTFS drive. Some users end up with a numbered suffix like UNTITLED 2, it still works fine, however I am not aware of a fix for that.
Original mount_ntfs file here.